


Personalised wax seals are the perfect way to complement your wedding invitations, adding a special, personal touch to the envelope. Invitations are the first thing your guests see before your wedding, so you can start impressing them right away. Without a doubt, adding a personalised wax seal to your envelope is a wonderful way to give it an original touch.
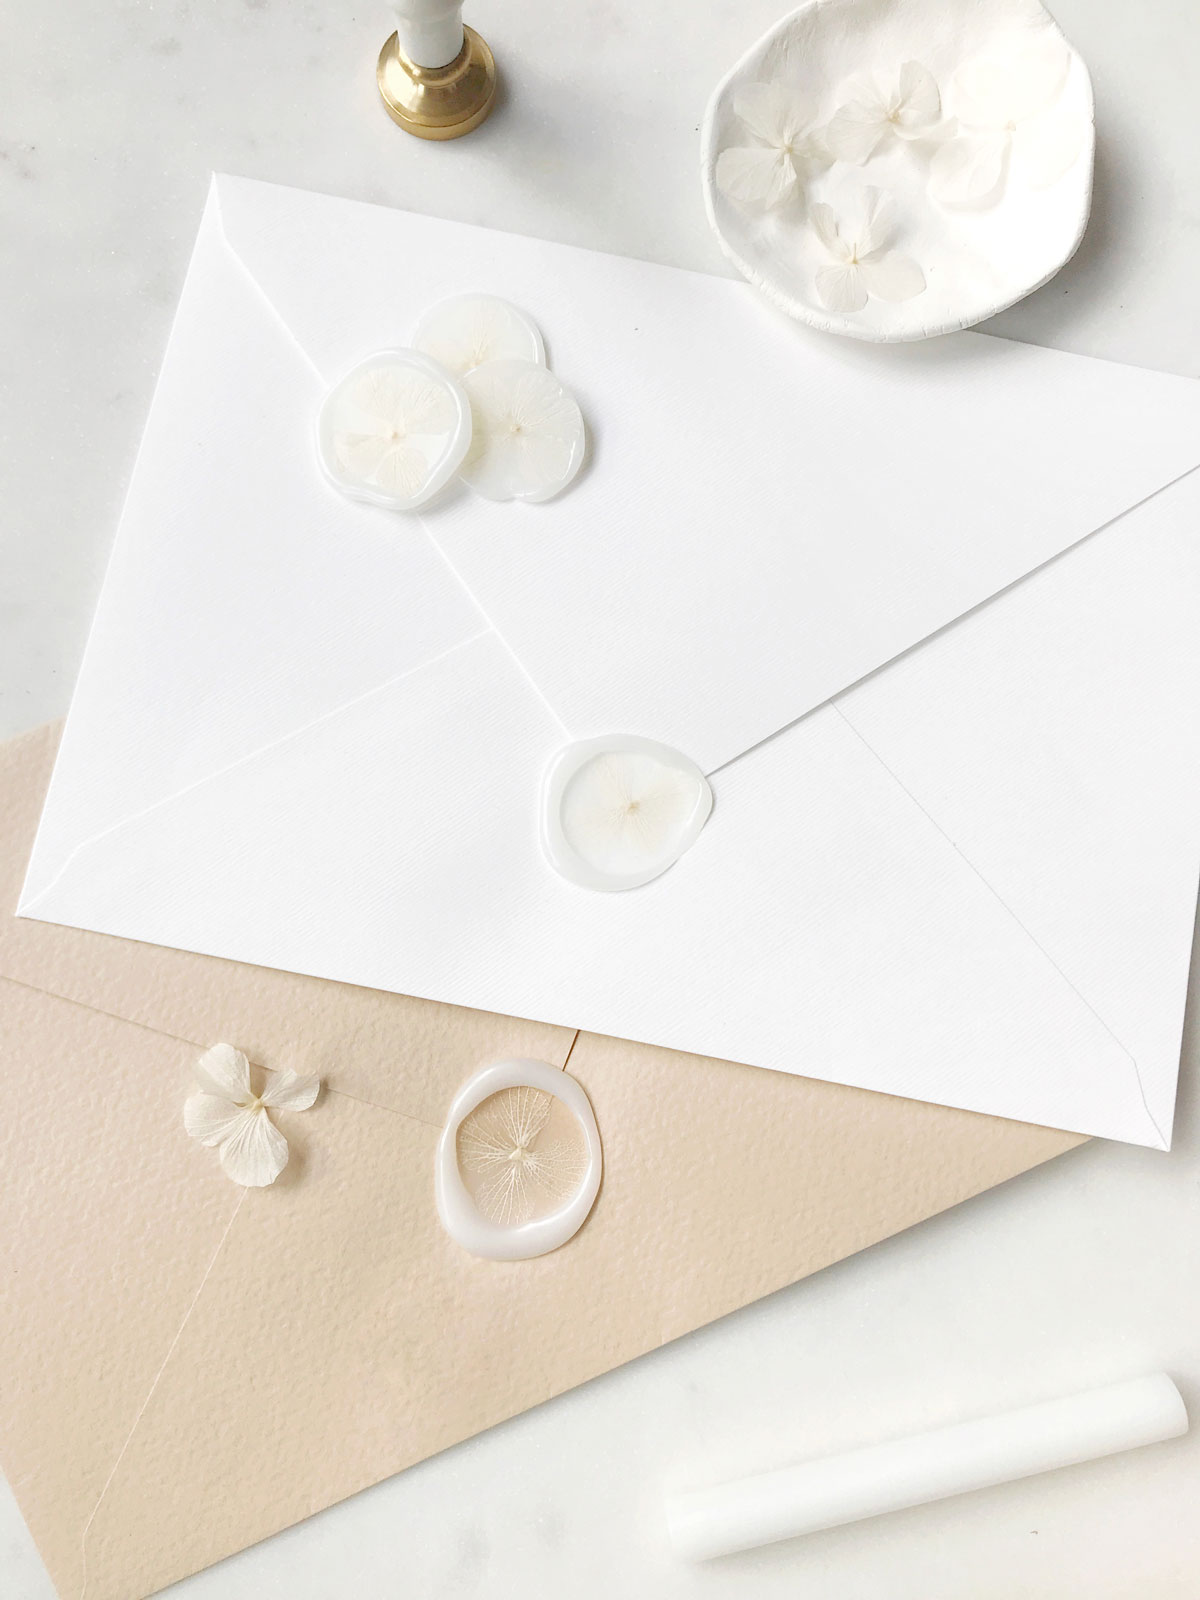
Personalised Wax Seals
There are many ways to personalise wax seals, since you can use your own design featuring some reference to the couple. For example, you can design your own custom wax seal with an image, a logo or any symbol you like. They're not just for weddings either — you can also use them for business purposes with your company logo, or for any other event.
The most popular personalised wedding wax seals are:
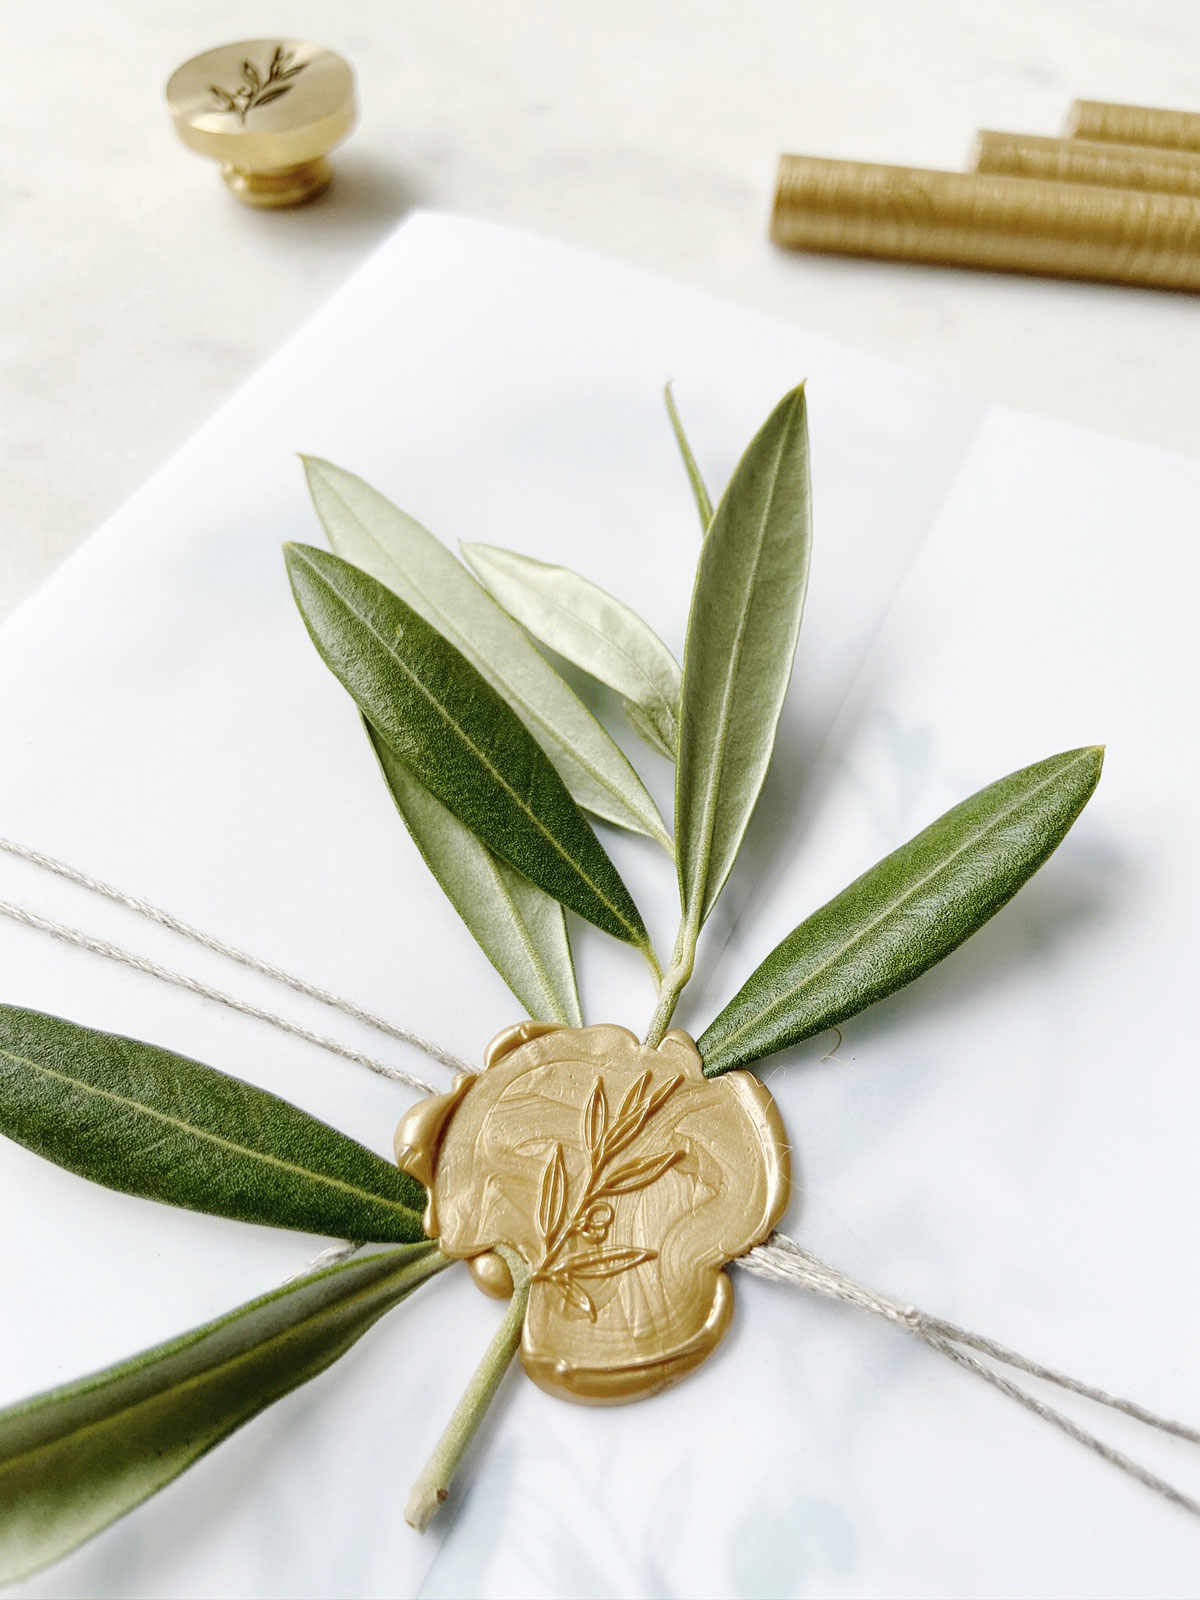
How to Make a Personalised Wax Seal
To personalise a wax seal, the first thing you need to know is what materials you'll need to make it. Here's a list of the essential items for making personalised wax seals:
Seal stamp
A cloth or fabric wipe
Ice
Once you have all the materials, we can start preparing our personalised wax seals.
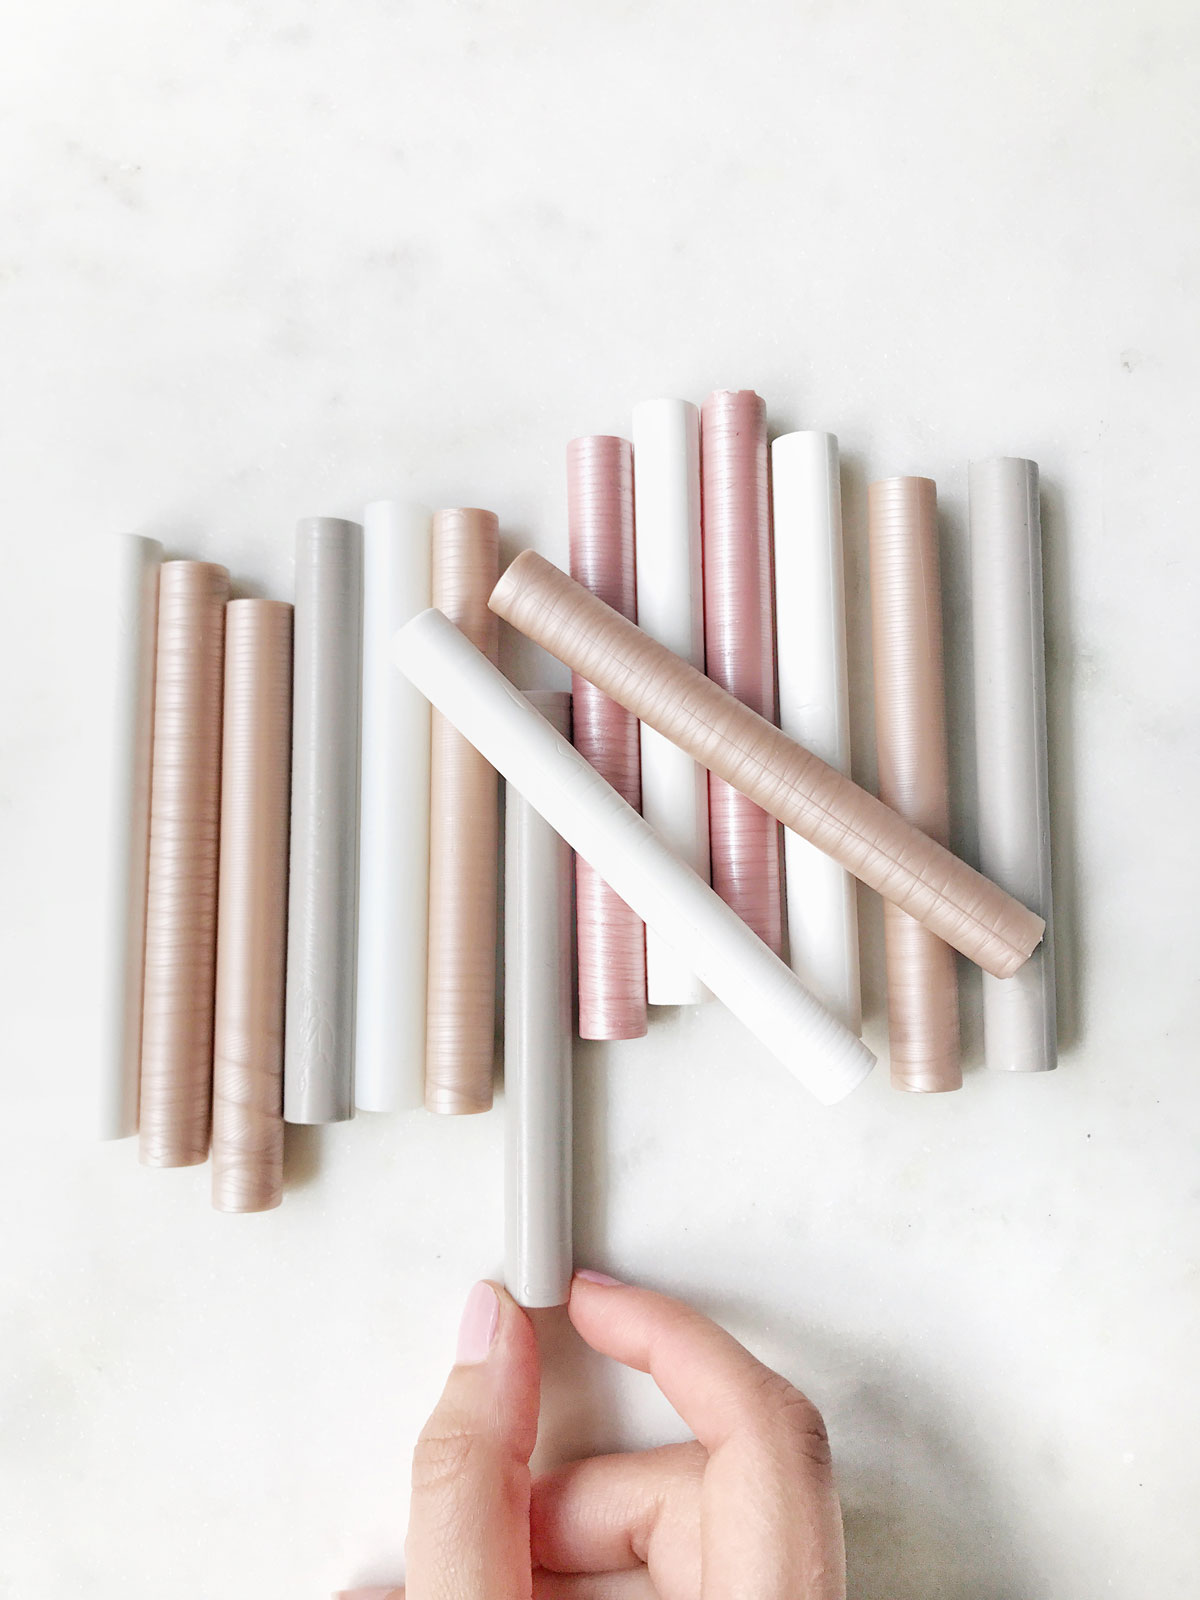
Steps to Personalise Wax Seals
Below, we walk you through every step to achieve personalised wax seals that will add the perfect touch to your wedding invitations:
1. To start making wax seals, the first thing to do is plug in the sealing wax gun and wait 3-5 minutes for it to heat up and melt the wax.
2. Next, we'll keep the seal stamp cooling on ice with the design we've chosen.
3. Once cooled, we dry it with a cloth.
4. Next, we place the gun over the surface to be sealed, gently squeezing the trigger all the way. We'll move the gun in small circles to avoid trailing wax outside the surface.
5. To finish making your personalised wax seals, we press the stamp onto the wax for 5-10 seconds. Gently lift the stamp away and it's ready, with the design you chose.
We've also left you an explainer video where you can see the whole process for making your personalised wax seals:
We hope you enjoyed this guide and found it useful for making your own wax seals. And if you have any questions or need a hand, we're experts in personalised wax seals, with plenty of experience to help you out.


