


Many wine and bottle producers choose to decorate their products with an elegant finish that sets their item apart from the rest, all to delight their customers. In reality, plenty of people are using this technique outside a professional context too, to decorate their gifts. Not just on bottles, but on glass jars, or any container that makes a lovely gift.
So, did you know you can wax-seal bottles? We've already told you about how to seal invitations with wax. So today we want to show you how to seal your bottles, in case you'd like to decorate the drinks at your wedding reception, or wrap up a gift.
What do I need to know to wax-seal bottles?
There are all sorts of machines and processes online that automatically add a wax seal to your wine bottle. Without going into too much detail, these tend to come with a rather steep price tag, and many of us don't fancy shelling out extra just for this kind of decorative touch.
What you should know is that it's entirely possible to wax-seal bottles at home with a wax seal stamp. For this you'll need:
- A sealing wax stick (or as many as you need, depending on volume)
- A wax seal stamp
- A wax gun
- New: stickers for wax seals that help you position your seal
- A bottle! (any container will do)
Keep in mind that, depending on how many bottles you want to seal, you'll need more or fewer wax sticks. We can't tell you off the top of our heads exactly how many sticks you'll need for a given number of bottles, but you'll get a feel for it once you start the process.
Depending on the bottle, jar, or container you need to seal, the process can vary. That's why creativity really matters here. You don't necessarily have to seal the cap of a bottle — you could also seal the closure of a container tied with string, or seal a few sprigs onto your bottle. It's entirely up to you.
Step by Step: How to Wax-Seal Bottles
You can choose whichever container you like. In our case, we've chosen a wine bottle, as you can see in the video. But you could just as easily choose jam jars, or smaller oil bottles. Now, we'll walk you through the process step by step, in case you'd rather read along:
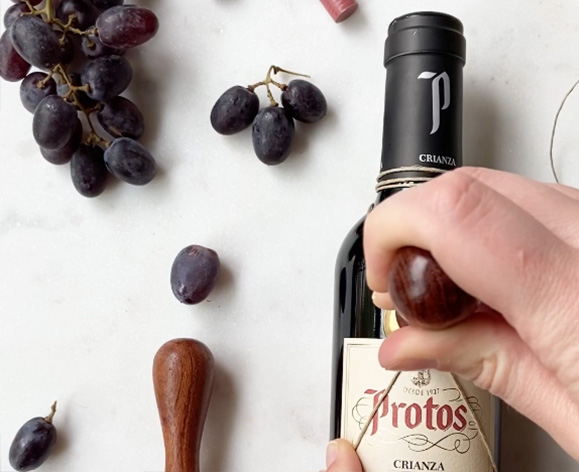
1. Using a piece of string, wrap it around the neck of the bottle, making sure it's secure enough not to come loose. Once you've wound most of the string around the bottle's neck, bring both ends together to form a cross over its body.
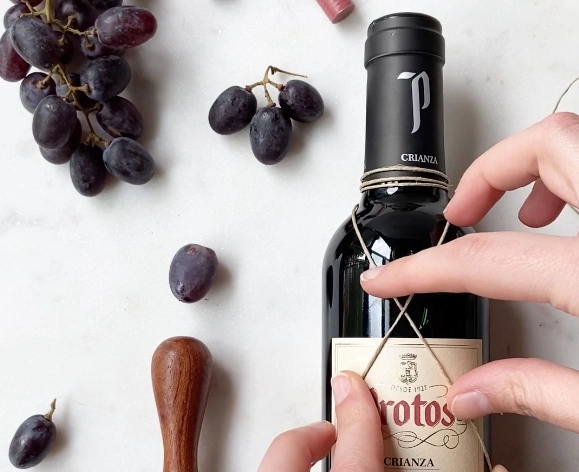
2. To improve the look, try to square up the cross you've formed with the string as much as possible. Once you've done that, hold both ends of the string together with one hand, and with the other, pour a little wax over the cross. .
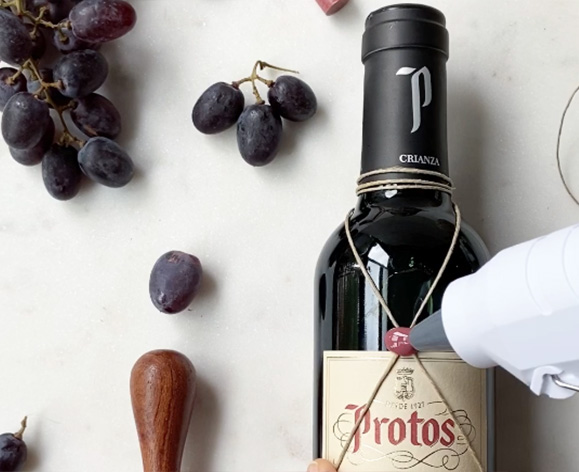
3. To prepare a base to stamp our beloved seal onto, we'll first need to smooth out the wax we've just poured. Place a flat stamp on top of the wax, then remove it after just a few seconds. This will leave you with a flat surface. .
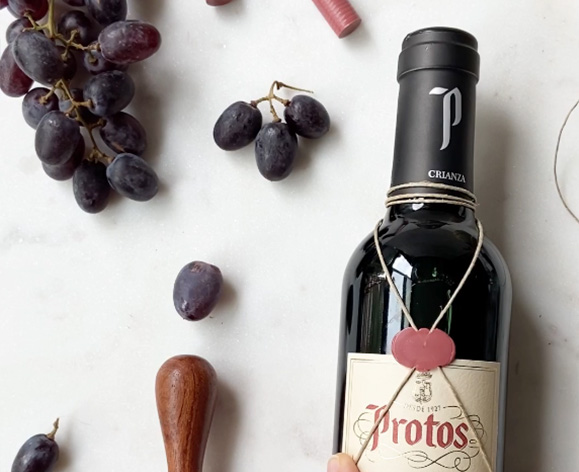
4. Now that we have a semi-flat base ready for a wax seal, we'll pour wax over it again, this time in a greater amount than before. Now it's time to press the wax seal stamp of your choice for a few seconds until it "sticks". Leave the stamp in place for a few seconds without letting it fall, then remove it while holding both ends of the string firmly so it doesn't come loose.. .
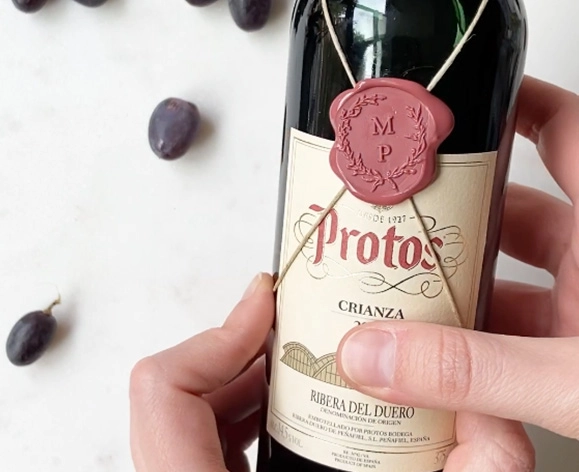
As you can see, this process is really simple, and anyone can do it at home. If you don't want to use much wax and, say, you just want to seal a single bottle, you can melt a little wax and use a spoon to pour it over the bottle cap. Then just add the seal, and you're done.
We hope to share more articles like this with you soon, as wax seals are becoming more and more popular for all kinds of details and events.
Love, Marmarina.


