


How to Apply a Wax Seal
Wax seals are a wonderful finishing touch for wedding invitations and envelopes. As time goes on, more and more people want to include a beautiful wax seal on their invitation, whatever the occasion.
Nowadays, everyone likes to give their wedding envelopes and invitations a distinctive, personal touch. With a wax seal, you not only get a lovely finish, but also the chance to add whatever style you like with a personalised design.
Is it difficult to seal letters and invitations? Not at all — with the right tools, adding a wax seal to a letter is really simple.
The History of Sealing Wax and Seals
The use of wax seals dates back to the Bronze Age, when they were used to mark the authenticity of clay tablets in Mesopotamia. Older than paper and pen themselves, wax was pressed onto clay tablets to stamp seals that demonstrated authority at the time.
It was during the Middle Ages that these seals became truly popular. Wax came into common use, and important figures such as bishops, monarchs and members of the nobility began stamping their mark on all their correspondence. By using a signet ring or their own personal seal, they marked every document to verify its authenticity — in place of a signature.
Why did people use wax seals? The answer is simple. Beyond conveying authority, authenticity and elegance, this method also confirmed that only the intended recipient had read the letter. If the seal was already broken on arrival, it meant someone else had read it first.
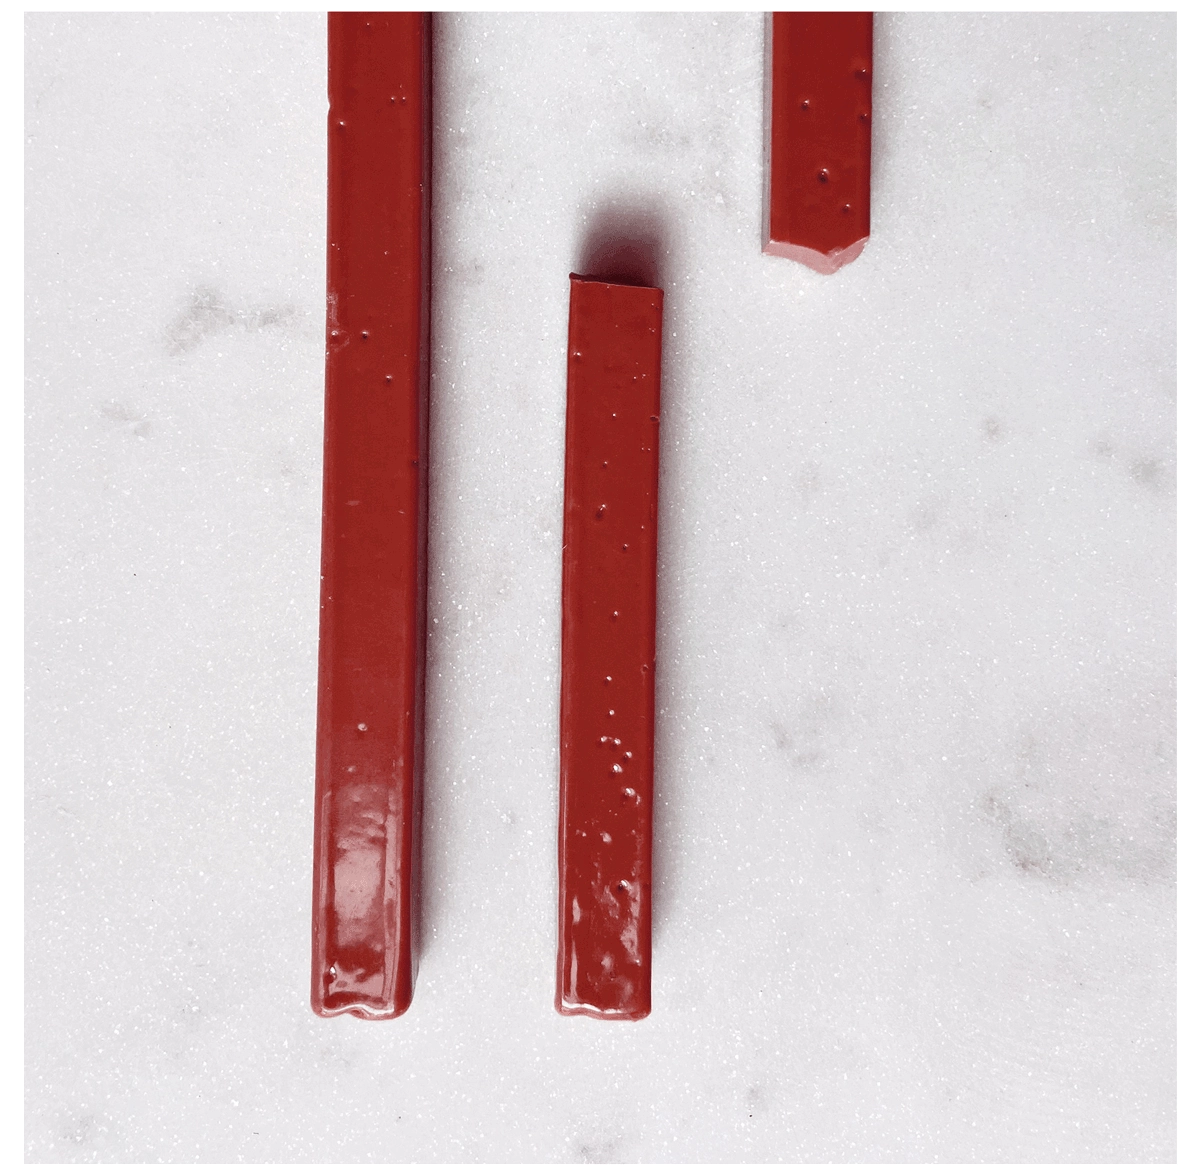
Today, wax seals are used for formal letters and special events. They add a unique touch of elegance that sets them apart from conventional envelopes. At Marmarina you can find your own wax seal in our wedding shop, or prepare your own personalised design for us to bring to life.Wax seals today
What Do I Need to Seal an Envelope or Letter?
-
First of all, you'll need a wax seal design you love. It could feature the couple's initials, a symbol that represents you, or any other distinctive touch you'd like to include. At Marmarina we have wax seals and personalised wax seals to choose from.
-
To get just the right amount of wax, we recommend using a wax gun, so you don't end up using more than you need. Simply heat the gun for a minute and a half to two minutes, then pull the trigger once.
-
Alternatively, if you don't have a wax gun and can't buy one, you can use a spoon heated over a candle at home instead. Just place a small piece of the sealing wax stick you've bought on the spoon and let it melt. Once melted, carefully pour it onto the flap of the envelope and press your seal into it.
-
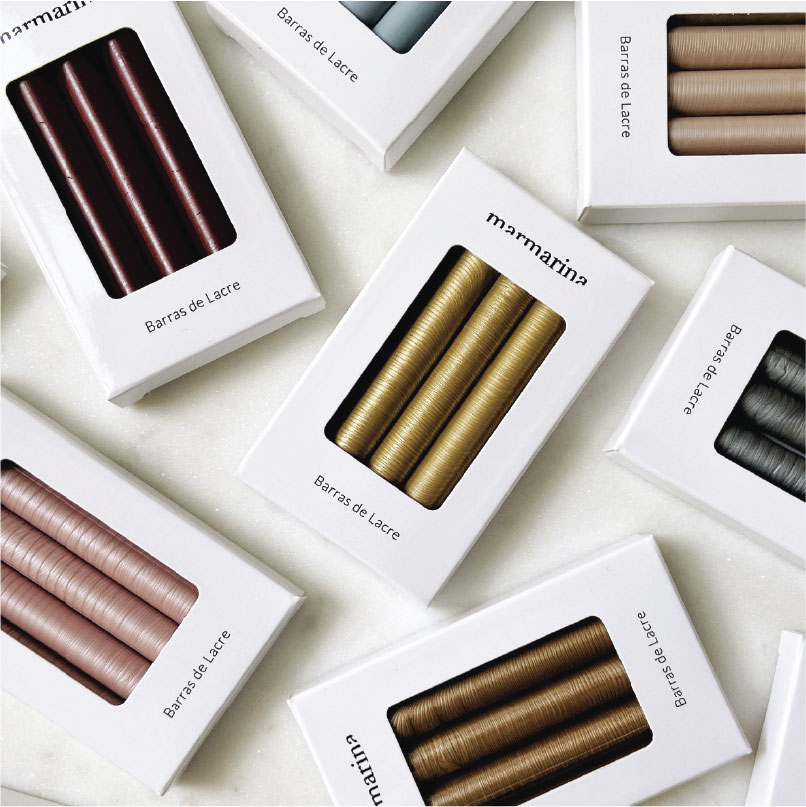
To follow the process we explain below, you'll need a wax stick to load into your gun, or to melt into pieces on a spoon. You can find sealing wax sticks in our shop.
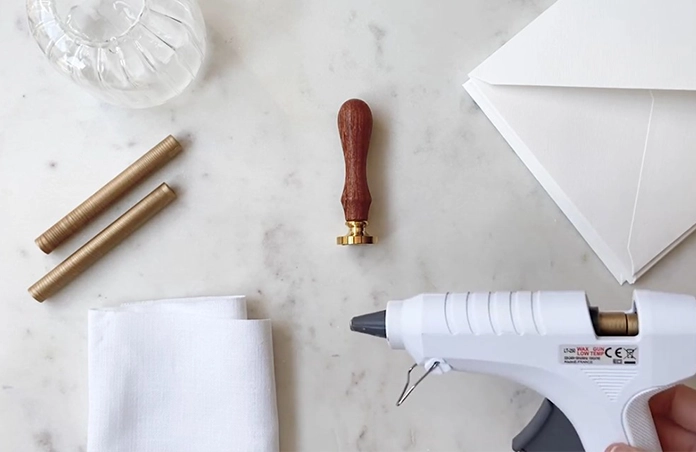
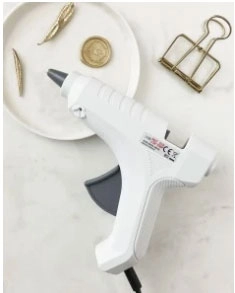
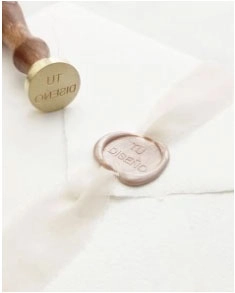
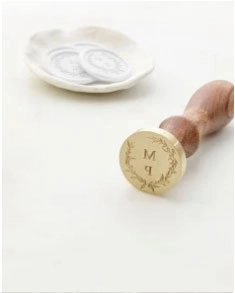
The process is much simpler than it looks. Just be careful not to use more wax than you really need, so your seals stay nice and consistent.
How to Use a Wax Seal, Step by Step
Important: you can keep sealing as many times as you need, as long as you don't let the wax cool down.
If you've ever wondered how to apply a wax seal, here's the process:
1. Plug in the wax gun and let it heat up for 3 to 5 minutes, so it melts the wax stick you've already loaded into it.
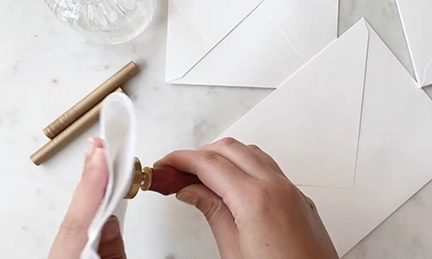
2. While the gun heats up, keep the seal chilling on ice for a couple of minutes. Once you take it out, gently dry it with a lint-free cloth.
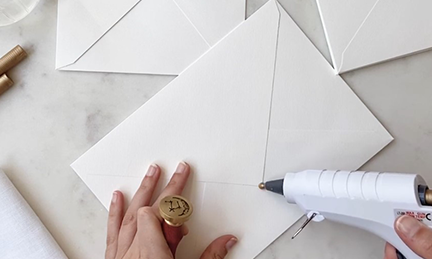
3. Hold the wax gun over the surface of the envelope you're sealing and gently squeeze the trigger all the way down, so the wax covers the surface, just as we show you in the video. Move the gun in small circles to avoid loose threads of wax that could damage your envelope.
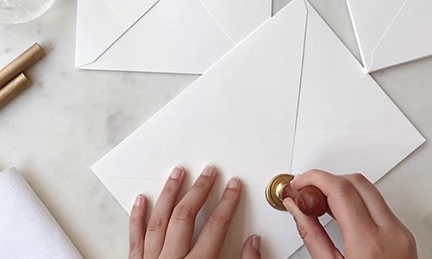
3.Finally, press the seal into the wax for 5-10 seconds to shape it. After that, you can lift it off with no trouble.
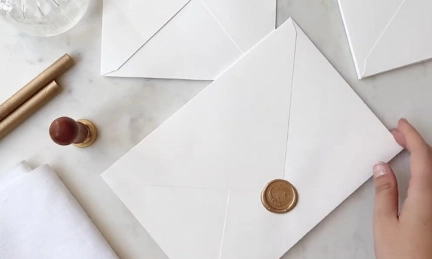
And that's it! Keep in mind that it's very important that as soon as the gun gets halfway through a wax stick, you can load another one and let them follow on from each other, without any manual pressing or swapping needed.
Once you've removed the seal, leave the letter to rest for a while until the wax cools completely, and your invitations and envelopes will be ready to be received by your guests.
We wish you an unforgettable experience. We hope our tutorial on using a wax seal comes in handy for your big day.
Love, Marmarina


